
Table of Contents
- What Are Bulk Earthworks in Construction?
- The Earthworks Construction Stages, Step by Step
- Stage 1, Survey, set out and establish datum
- Stage 2, Clear, grub and strip topsoil
- Stage 3, Bulk excavation (cut)
- Stage 4, Fill placement in lifts
- Stage 5, Grading, shaping and final trim
- Stage 6, Testing, sign-off and handover
- What You Need Before Work Starts
- Common Mistakes to Avoid During Site Preparation
- Bulk Excavation: Removing Soil and Rock to Design Levels
- Cut and Fill Earthworks: Balancing Material On Site
- Compaction, Testing and Acceptance Criteria
- Earthworks Cost Factors That Drive Your Budget
- Managing Risk, Safety and Environmental Controls on Site
- Conclusion: Getting Bulk Earthworks Right from the Start
- Frequently Asked Questions
Last Updated: October 14, 2026
What Are Bulk Earthworks in Construction?
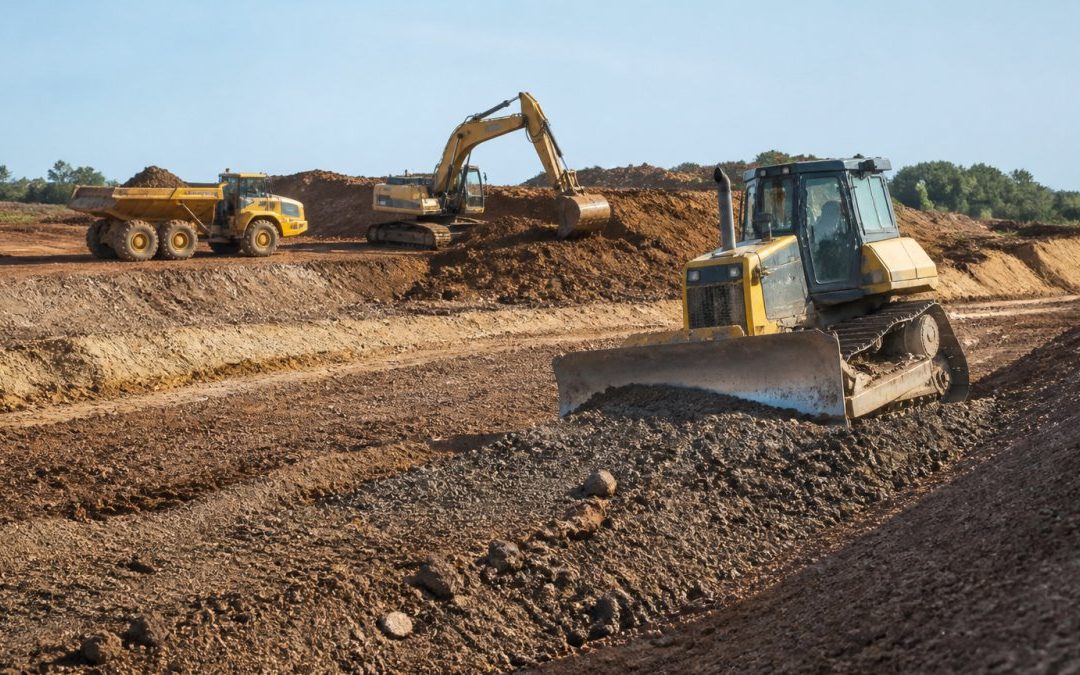
Bulk earthworks in construction is the large-scale process of moving, placing and compacting soil or rock to shape a site to its design levels, before any footings, slabs or services go in.
Bulk earthworks covers cut, fill, haulage and compaction across a whole site, setting the platform every later trade builds on.
Most guides treat bulk earthworks as one task. In practice it is a sequence, and each stage has its own quality checks.
Below, we break down each stage, how cut and fill volumes work, and what drives cost.
How Bulk Earthworks Differ from Detailed Excavation
Bulk earthworks moves earth material in volume. Detailed excavation works to tight tolerances for a specific structure.
Think of it this way:
- Bulk earthworks: cut and fill to reach design levels across the site
- Detailed excavation: trenches, footings and service pits cut to exact depth and width
- Bulk excavation: removing soil and rock to reach formation level
The two phases use different machines and accuracy targets. A bulldozer and grader shape a pad; a small excavator with a laser or GPS cuts a footing trench to millimetre accuracy.
One relies on volume, the other on precision. You need both, in that order.
The Earthworks Construction Stages, Step by Step
A bulk earthworks project is a sequence, not a single activity. Each stage produces a deliverable the next depends on, and each has a hold point where work pauses until a check is signed off.
Stage 1, Survey, set out and establish datum
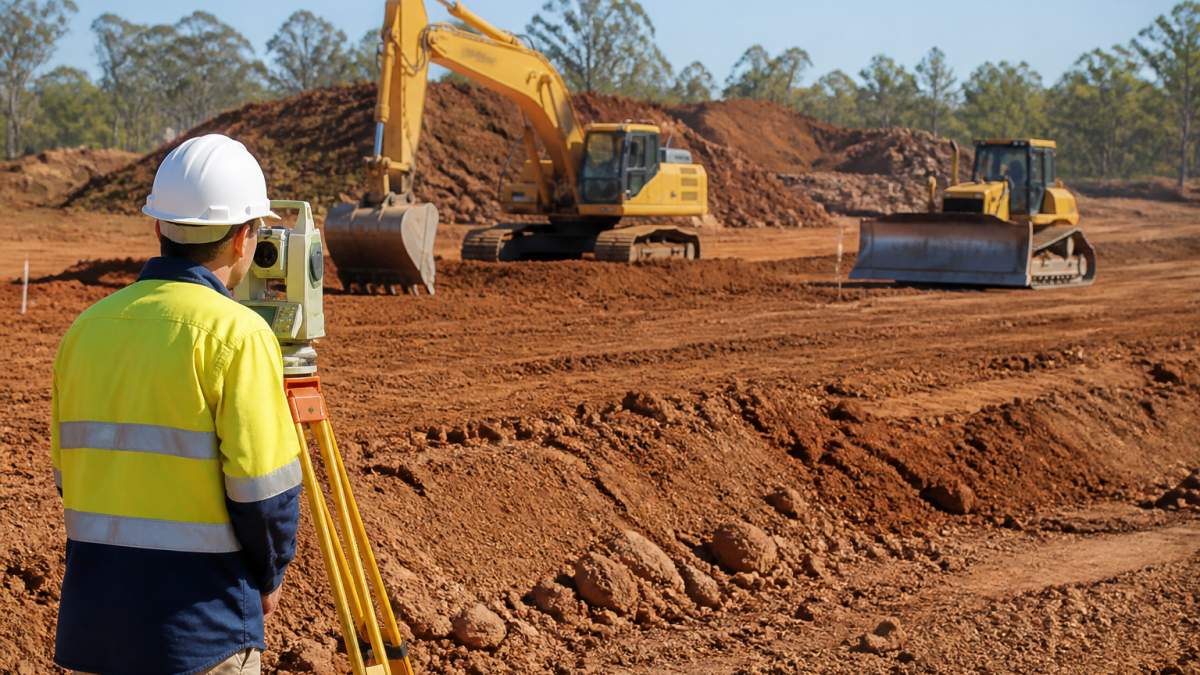
The surveyor establishes a site datum and transfers design levels from the construction plans onto the ground, placing benchmarks where machines will not disturb them.
Hold point: the client’s engineer or superintendent confirms the datum and existing-surface survey before any cut begins. If the existing surface is wrong, every quantity claim later is wrong too.
Stage 2, Clear, grub and strip topsoil
Vegetation, structures, fences and buried debris are removed. Topsoil is stripped to a depth set by the geotechnical report, commonly 100-300 mm, and stockpiled separately, clearly signed and kept free of subsoil, rock and spoil so it can be reused for final landscaping.
Hold point: service locations are marked and confirmed before any machine breaks ground. Dial-before-you-dig records and service plans are checked against the survey.
Stage 3, Bulk excavation (cut)
Material is cut down to design formation level. The method depends on ground conditions:
- Loose or friable soil: excavator and trucks, direct load-out.
- Stiff clay or weathered rock: ripping with a dozer or large excavator, then load-out.
- Hard rock: hydraulic breaking, drilling and blasting, or rock sawing, depending on proximity to services and neighbours.
Cut faces are benched or battered to a stable angle as the cut progresses, never left vertical overnight. For deep cuts, the geotechnical report specifies batter slopes and any shoring needs.
Hold point: formation level is surveyed and proof-rolled. Soft spots found at formation are undercut and replaced before fill goes down.
Stage 4, Fill placement in lifts
Imported or on-site fill is placed in horizontal layers called lifts.
Material suitability matters: fill that is too wet, too dry, too plastic, or contains organic matter or oversized rock will not compact to the required density.
Hold point: each lift is tested before the next lift is placed. See the compaction and testing section below.
Stage 5, Grading, shaping and final trim
Once the pad is built up, a grader and/or dozer shapes it to final design levels and falls, cutting in surface drainage so water sheds off rather than ponding. Final trim is usually tighter than bulk cut, often ±20-50 mm on pad levels, but the tolerance is set by the specification and the structure going on top.
Hold point: final level survey against the design DTM, plus a visual check for ponding, soft spots and surface defects.
Stage 6, Testing, sign-off and handover
Compaction test results, level surveys, material test certificates and non-conformance reports are compiled into a handover pack. The engineer or superintendent reviews it against the specification and signs off the earthworks as complete. Only then does the next trade, footings, slab or services, mobilise.
What You Need Before Work Starts
No crew should mobilise without four things:
- Approved construction plans and design levels
- A geotechnical report on ground conditions
- Sediment and erosion control measures installed
Missing any one stalls the job and creates safety and compliance risk.
Common Mistakes to Avoid During Site Preparation
Stripping topsoil and stockpiling it in the wrong spot is a common error. If it gets mixed with unsuitable material or buried under spoil, you lose it and must import replacement topsoil at extra cost.
Other frequent problems:
- Cutting before services are located
- Placing fill in layers too thick to compact properly
- Leaving the site without drainage or erosion controls
Each turns a smooth job into a slow, expensive one.
Bulk Excavation: Removing Soil and Rock to Design Levels
Bulk excavation is the removal of soil, rock and other earth material to reach design formation level.
Ground conditions decide the method. Loose soil moves fast with an excavator and trucks. Rock needs ripping or breaking first, which slows everything down.
Spoil has to go somewhere. Options include:
- Reusing suitable material elsewhere on site as fill
- Stockpiling for later use
- Hauling off site to a licensed facility
Haulage distance and disposal fees are two of the biggest cost drivers in this phase.
Cut and Fill Earthworks: Balancing Material On Site
Cut and fill earthworks is the practice of cutting high ground and using that material to fill low ground, aiming to balance volumes on site.
When cut and fill balance, you avoid both buying fill and paying to cart spoil away.
Perfect balance is rare. Most sites need some import or export. The goal is to get as close as practical.
How Cut and Fill Volumes Are Calculated
Volumes are measured in cubic metres: surveyors compare the existing surface to the design surface to work out cut and fill quantities.
A simple way to think about it:
- Cut volume: material removed from above design level
- Fill volume: material needed to build up to design level
- Net balance: cut minus fill
If cut exceeds fill, you have surplus spoil to remove. If fill exceeds cut, you need to import suitable material.
Moisture content matters too. Wet soil bulks up and does not compact well. Dry soil can be too dusty to place.
Ask for a cut and fill balance sheet before work starts. It shows where material moves and whether the site is close to balanced. It is the fastest way to spot a design that will force expensive import or export.
Compaction, Testing and Acceptance Criteria
Compaction removes air from placed fill so it can carry the loads above it. Without it, fill settles, cracking slabs, breaking pipes and undermining the whole build.
Fill goes in layers called lifts, each limited in thickness so a roller can compact it through its full depth. The roller passes until the lift meets the specified density, not a feeling, but a number measured by a test against a criterion in the project specification.
How Acceptance Criteria Are Set
Acceptance criteria come from two documents:
- The project specification, sets the required density, test frequency, lift thickness and moisture range.
- The geotechnical report, sets material suitability requirements and any site-specific constraints, such as reactive clay or high water table.
A typical density requirement is a percentage of maximum dry density (MDD) from a standard laboratory compaction test. The exact percentage and test method are set by the specification, common values sit in the high 90s, but the number is project-specific and should never be assumed.
The Tests That Prove the Work
Testing confirms the work is right. Common checks:
- Compaction testing (field density): measures the achieved dry density of the placed lift against the target, using methods like sand replacement or nuclear density gauges, compared to the specification’s required percentage of MDD.
- Moisture content testing: confirms soil is at the right moisture to compact. Too dry and particles will not bind; too wet and the roller just pumps the surface. Checked at placement, not after.
- Laboratory classification and compaction testing: establishes the material’s MDD and optimum moisture content (OMC) before fill is placed, so field results have something to be measured against.
Test Frequency and Hold Points
Test frequency is set by the specification, often as a minimum number of tests per lift per area or per volume of fill placed. No lift is covered by the next until it has been tested and accepted.
This creates a hold point: the contractor cannot proceed to the next lift until the test result is in and the engineer has accepted it.
What Happens When a Lift Fails
A failed lift is not a disaster, but it is a delay. The response depends on the cause:
- Low density: the lift is reworked, additional roller passes, or moisture adjustment, then retested.
- Wrong moisture: the lift is dried (aerated, blended with drier material) or wetted, then recompacted and retested.
- Unsuitable material: the lift is removed and replaced with compliant material.
Each is a rework cost. The cheapest test is the one that catches a problem before the next lift buries it.
The Handover Record
At completion, the testing record becomes part of the handover pack: field density and moisture results, laboratory certificates, level surveys, and non-conformance reports with their close-out. This pack is what the engineer signs off against and what protects the builder if settlement issues are alleged later.
Ask for the test frequency and the required density percentage before work starts. If a quote does not mention testing frequency, assume it is not included, and price the risk of rework into your comparison.
Testing every lift is not optional. It is the record that proves the platform is stable.
Earthworks Cost Factors That Drive Your Budget
Earthworks cost factors come down to how much material moves, how far it travels, and how hard the ground is to work.
The main drivers:
- Volume of cut and fill: more cubic metres means more machine hours
- Haulage distance: moving material further costs more
- Ground conditions: rock and soft ground slow the job
Pricing depends on the site, volumes and program. We do not quote from a template, every site is different, and so is the number.
The cheapest earthworks quote is rarely the cheapest job. A low price often means thin fill layers, skipped testing or hidden import costs. Compare quotes on scope, not just the headline figure.
Managing Risk, Safety and Environmental Controls on Site
Earthworks carries real risk. Deep cuts can collapse. Heavy machines and trucks move constantly.
Controls that matter in practice:
- Benching and battering: step or slope cut faces so they stay stable
- Traffic management: separate machines, trucks and people
- Sediment and erosion control: stop soil leaving the site into drains
Environmental controls are not paperwork. Sediment fences, silt traps and stabilised entry points keep soil out of stormwater.
As documented in guidance from the Environment Protection Authority Victoria on construction site runoff, sediment-laden water is a major pollutant of urban waterways.
Safety rules for earthworks are set by Safe Work Australia’s model Code of Practice for construction work.
Conclusion: Getting Bulk Earthworks Right from the Start
Bulk earthworks sets the platform for everything that follows.
That is where an experienced civil contractor makes the difference. We handle bulk earthworks, stormwater and sewer infrastructure, and full site preparation under one team.
Get in touch with WPH Civil Construction to discuss your next project and get a scope built around your site.
Frequently Asked Questions
What work is included in bulk earthworks?
Bulk earthworks cover the large-scale work needed to bring a site to design levels: clearing and stripping topsoil, bulk excavation of soil and rock, haulage, placement and compaction of fill, grading and levelling, and drainage or erosion controls. It also includes surveying to confirm design levels and compaction testing so the finished platform meets the engineer’s specification. On most projects this is the first major construction phase, and the stable building platform it produces sets up everything that follows, from footings to car parks and stormwater lines.
How are cut and fill calculated on a construction site?
Cut and fill volumes are calculated by comparing the existing survey surface with the design surface, usually in modelling software that divides the site into a grid. The difference in level at each point, multiplied across the area, gives cut and fill volumes in cubic metres. The goal is a balanced cut and fill, where material cut from high points is reused as fill elsewhere, minimising import and spoil. A balance close to zero reduces haulage and disposal costs, though unsuitable material and compaction factors can shift the final numbers.
How long do bulk earthworks take?
Timelines depend on site size, volumes, ground conditions and weather. A small residential lot might take a few days, while a large subdivision with significant cut and fill can run for several weeks or months. Wet weather is the biggest variable, since saturated soil cannot be compacted to specification and work often stops. A realistic program accounts for survey, clearing, excavation, placement, compaction testing and any hold points required by the engineer or council, so build in contingency rather than assuming a straight run of working days.
What are the Australian standards for earthworks?
Earthworks in Australia are typically specified through AS 3798 Guidelines on earthworks for commercial and residential developments, which covers site investigation, fill placement, compaction and testing. Projects may also reference the relevant AS 1289 test methods for soil compaction and moisture content, and council or state requirements for erosion and sediment control. The engineer’s specification for your project sets the actual acceptance criteria, so always work to the drawings and geotechnical report rather than assuming a single national standard applies to every site.